Introduction to Lumber Estimation and Project Planning
You are standing in the middle of a DIY framing project or holding a set of blueprints, wondering how many boards to load onto your truck. Figuring out how much lumber do i need requires balancing linear measurements, structural span requirements, and safety margins to avoid constant trips back to the home center. Accurate material takeoff is the foundation of any successful construction project, whether you are building a simple garden shed, framing a basement partition, or constructing a multi-level outdoor deck.
For a standard 100 square foot shed or small partition wall framing project, you typically need between 150 and 250 linear feet of dimensional lumber, plus a 10% to 15% waste allowance. Exact totals depend entirely on your stud spacing, header design, and whether you are building walls, floors, or an outdoor deck structure. Understanding how to break down a blueprint into discrete material components ensures that you purchase exactly what you need without accumulating excessive leftovers.
Getting your wood quantities right prevents costly project delays and keeps your budget under control. In this guide, you will learn the exact formulas, waste allowances, and practical steps required to order the precise amount of framing materials for any project. We will explore everything from basic dimensional lumber measurements to complex stair stringer calculations and cost optimization strategies.
Understanding Lumber Measurement Units

Lumber is sold and measured in several different ways, which often confuses beginners. Before you calculate totals, you must understand the difference between nominal dimensions, actual dimensions, linear feet, and board feet. Mastering these fundamental units prevents costly sizing errors on the job site.
Nominal sizes refer to the rough dimensions of a board before it is planed and dried. A standard two-by-four does not measure two inches by four inches; its actual finished dimension is 1.5 inches by 3.5 inches. Always use actual dimensions when calculating exact clearances, weights, or spatial fits, especially when interfacing with manufactured sheet goods like plywood or drywall.
Linear feet measure the total length of lumber regardless of its width or thickness. A single 10-foot long board equals 10 linear feet. Board feet, on the other hand, measure the total volume of wood, calculated as length in feet multiplied by nominal thickness in inches, multiplied by nominal width in inches, divided by 12. Knowing when to apply each metric is critical for accurate lumber procurement.
When to Use Linear Feet Versus Board Feet
Linear feet are used primarily for dimensional framing lumber like studs, joists, and rafters sold in standard lengths. If you need ten studs that are each 8 feet long, you need 80 linear feet of lumber. This linear total is then translated into specific stock lengths available at your local lumberyard, ensuring you purchase standard board increments.
Board feet are typically used for hardwood lumber, custom furniture building, and thick timbers sold by volume rather than standard pre-cut lengths. If you are using our Material Calculator or estimating rough-sawn specialty woods, board feet calculations ensure you purchase the correct volume. For example, cabinetry shops buy walnut or oak by the board foot, whereas residential framing contractors buy southern yellow pine or spruce by the piece or linear foot.
Deep Dive Into Board Foot Calculations
Calculating board feet accurately is essential when transitioning from standard dimensional framing to specialty hardwoods, thick beams, or custom millwork. The standard formula is straightforward: thickness in inches multiplied by width in inches, multiplied by length in feet, divided by 12.
For example, if you are purchasing a thick cedar timber that measures nominally 2 inches thick by 10 inches wide and is 12 feet long, the calculation is (2 x 10 x 12) / 12, which equals 20 board feet. If the lumberyard prices this wood at $4.50 per board foot, your total cost for that single board is $90.00. Understanding this pricing structure prevents unexpected financial surprises when purchasing premium or rough-sawn lumber.
Try Our Free Calculators:
When dealing with fractional thicknesses, such as 5/4 decking boards, you must convert the fraction to a decimal (1.25 inches) before running your board foot equation. Always verify whether your supplier uses nominal or actual dimensions when quoting board foot prices, as this can create a noticeable variance on large custom orders. Furthermore, remember that board foot pricing does not account for drying shrinkage or milling waste, so you must still apply a buffer percentage to your final volume.
How to Calculate Studs and Wall Framing Lumber

Framing walls requires a systematic approach based on centerline layouts and standard spacing rules. In residential construction governed by the International Residential Code (IRC), wall studs are typically spaced either 16 inches or 24 inches on center. Choosing the correct spacing depends on structural load requirements and the type of exterior or interior finish you plan to install.
To calculate the number of studs for a wall, divide the total length of the wall in inches by your spacing interval (16 or 24), then add one stud for the end. Next, multiply by the number of wall plates (usually a bottom plate, a double top plate, meaning three total plates running the full length of the wall). This gives you the basic framing skeleton for a straight run of wall.
Corner posts, door openings, and window headers require extra framing members that standard spacing formulas miss. As a general rule of thumb, add two extra studs for every corner intersection and rough opening in your framing layout. Additionally, you must account for cripple studs, which are short framing members placed above headers and below window sills to support the wall finish.
| Wall Length | 16-Inch OC Studs | Plates (Full Length) | Total Estimated Studs |
|---|---|---|---|
| 10 Feet | 9 studs | 30 linear ft | 12 studs |
| 20 Feet | 16 studs | 60 linear ft | 22 studs |
| 30 Feet | 24 studs | 90 linear ft | 32 studs |
| 40 Feet | 32 studs | 120 linear ft | 42 studs |
Estimated Framing Lumber by Project Size
Chart note: Estimated total linear footage required including standard waste factors and plates.
You can quickly cross-reference these estimates with our Lumber Calculator to verify your linear footage requirements before ordering from your supplier. Always check your local building codes to ensure your wall assembly meets minimum structural and insulation performance standards.
Calculating Corner Posts and Partition Intersections
Beyond standard field studs, framing corners and T-intersections require specialized multi-stud assemblies to provide adequate nailing surfaces for drywall and exterior sheathing. Ignoring these details is a primary reason builders fall short of materials during framing execution.
A standard three-stud corner typically consists of one full stud tied to another stud with spacer blocks or a third interlocking stud to create a stable 90-degree angle. When calculating your total lumber requirement, you must count every exterior corner and interior wall intersection, adding two to three extra studs per location depending on your framing configuration. These assemblies ensure that drywall has solid backing in every corner without cracking over time.
Similarly, partition wall T-intersections require a backing ladder or a three-stud post assembly to secure the drywall of the adjoining wall. Make a physical mark on your floor plan for every corner and intersection, tally them up, and add those specific boards directly to your raw stud count. Failing to include these intersecting members will leave gaps that make drywall installation impossible or structurally unstable.
Calculating Floor and Ceiling Joist Requirements

Floor and ceiling joists carry heavy dead and live loads, meaning their sizing and spacing are strictly dictated by span tables and structural engineering standards. Getting the spacing wrong can lead to sagging floors, cracked tile, or catastrophic structural failure.
To determine how many joists you need, measure the total span length parallel to the joist direction, then divide the width of the floor area by your joist spacing interval (usually 12, 16, or 24 inches on center). Add one final joist to complete the end of the run. For instance, a 16-foot wide room with joists spaced at 16 inches on center requires approximately 13 joists, plus an extra board for the terminal end.
Also Read:
- Lumber Cost Calculator Guide: 2026 Prices, Board Feet, and Material Estimates
- Deck Cost Calculator: Complete 2026 Guide to Pricing and Materials
- Siding Cost Calculator Guide: 2026 Prices, Materials & Installation Estimates
- Paver Cost Calculator: Complete Guide to Hardscape Pricing in 2026
- Fence Cost Calculator: Complete Guide to Pricing in 2026
For complex framing projects where you need precise cost figures alongside raw material counts, utilizing a dedicated Lumber Cost Calculator helps translate physical board counts into realistic purchasing budgets based on current regional lumber market prices. Always cross-reference your joist spans with engineered span tables to verify that your chosen lumber dimensions can safely support the intended occupancy load.
Accounting for Rim Joists and Blocking
Never forget that joist calculations only account for the interior spanning members. You must also calculate the exterior rim joists or box headers that wrap the perimeter of the floor system. These perimeter boards tie the entire floor platform together and provide a nailing surface for subfloor edges.
A rim joist runs the entire linear perimeter of your floor deck. Measure the outside perimeter of your structure in linear feet to determine how much matching dimensional lumber you need for the band boards. For example, a 20×30 foot floor deck has a 100-foot perimeter, requiring 100 linear feet of rim joist material plus cutting waste.
In addition to perimeter band boards, floor systems wider than 8 feet often require mid-span bridging or solid blocking to prevent joist twist and transfer loads uniformly across the assembly. Calculate one row of solid blocking for every 8 to 10 feet of clear span width across your floor system, cutting pieces to fit snugly between each individual joist bay.
Calculating Deck Lumber and Subflooring Materials

Outdoor decks and subflooring installations require calculations for both the underlying framing structure and the surface decking boards. Surface boards require different formulas depending on whether you are using traditional pressure-treated wood, cedar, or composite decking materials.
To calculate decking boards, find the total square footage of your deck surface, divide by the effective coverage width of your chosen board size (accounting for a standard 1/8-inch gap between boards), and multiply by your total run length. For example, standard 5/4×6 decking boards have an actual width of 5.5 inches, but with the required spacing gap, they cover roughly 6 inches of linear run.
For a preliminary planning estimate, construction cost calculators can help you budget for the entire structural assembly, including fasteners, posts, beams, and surface finishes. Always order extra surface boards to account for end trimming and minor splitting during installation.
- Measure exact square footage: Multiply length by width of the usable deck platform to establish your baseline surface area.
- Factor board overhang: Add 1 to 2 inches to board lengths to allow for clean end-cutting on site after installation.
- Account for stair treads: Include extra lumber if your deck design incorporates custom stairs, multi-level landings, or complex railing posts.
- Include substructure framing: Calculate posts, beams, and joists separately using standard structural span charts for outdoor exposure.
Estimating Stair Stringers, Risers, and Treads
Building stairs represents one of the most mathematically demanding parts of any rough carpentry project. Calculating lumber for stairs requires determining total rise, total run, individual step heights, and the specific stock required for structural stringers.
Start by measuring the total vertical distance from the lower floor level to the upper floor level in inches. Divide this total rise by the ideal riser height (typically around 7.5 inches) to find your total number of risers. Once you have the step count, calculate your stringer length using the Pythagorean theorem based on the total run and total rise of the staircase.
Stair stringers are usually cut from heavy-duty 2×12 dimensional lumber to ensure structural integrity and prevent excessive bounce. For a standard 36-inch wide staircase, you will need a minimum of three cut stringers spaced evenly apart, plus additional stock for solid stair treads, kick risers, and structural landing framing. Never use undersized lumber like 2x10s for long stair runs unless verified by an engineered span table.
The Essential Waste Factor and Over-Ordering Rule

No lumber calculation is 100% exact. Knots, splits, warped boards at the lumber yard, and cutting errors mean you will always need to buy more wood than your raw math suggests. Failing to include a waste buffer is a guaranteed recipe for project delays.
Always apply a waste factor percentage to your final tally based on project complexity. For simple rectangular walls with minimal cuts, a 10% waste factor is usually sufficient. For complex roof rafters, angled stair stringers, or DIY projects with a high learning curve, increase your waste factor to 15% or even 20% to account for miscuts and unusable stock.
If your calculation shows you need 100 linear feet of 2×4 boards, a 15% waste factor means you should actually purchase 115 linear feet. Running out of wood halfway through a weekend framing session halts your progress, wastes valuable time, and can result in mismatched wood batches from subsequent trips to the store.
Common Lumber Sizing Standards and Stock Lengths
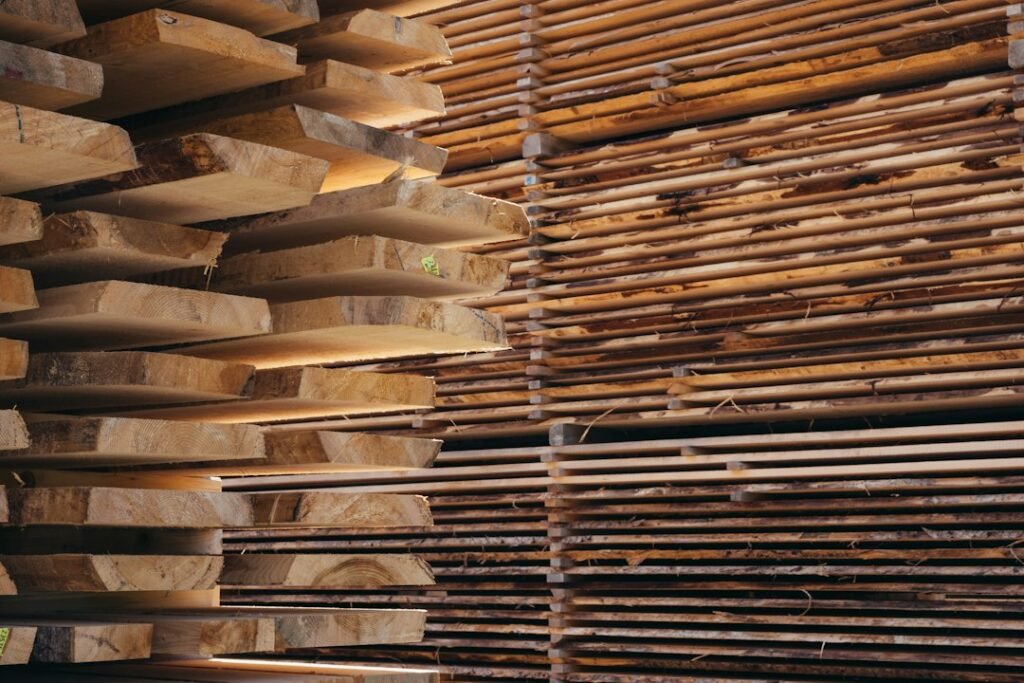
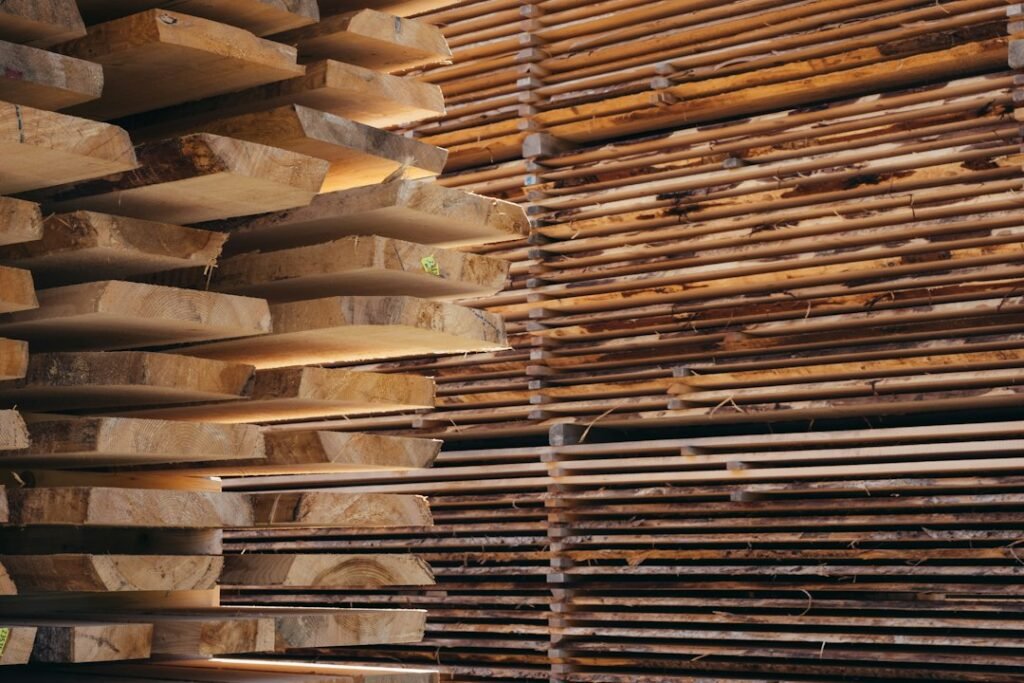
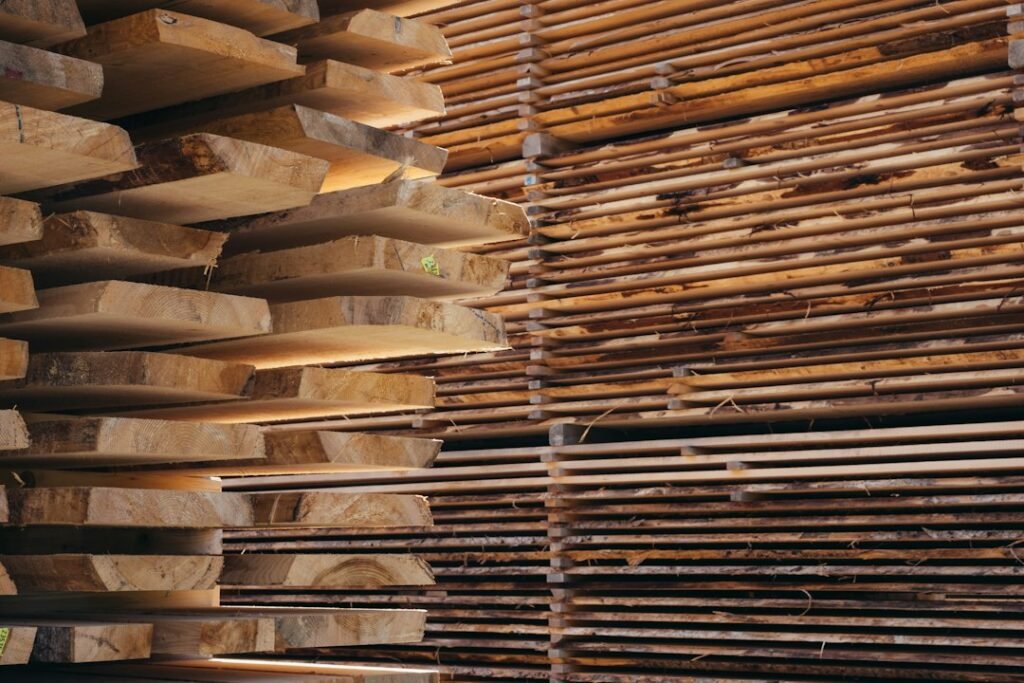
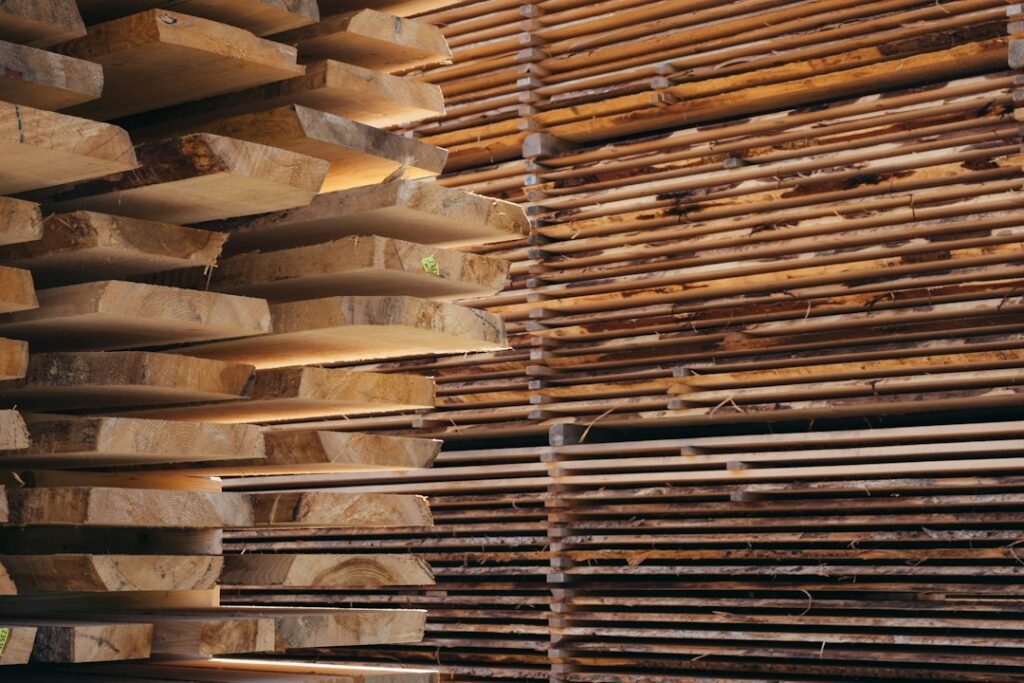
Lumber is manufactured and shipped in standard dimensional increments, usually sold in even-foot lengths ranging from 8 feet to 20 feet. Designing your project around these standard lengths drastically reduces waste, minimizes unnecessary cuts, and saves money.
When planning wall heights or rafter spans, try to design in 8-foot, 10-foot, or 12-foot modular increments. If your wall height is 9 feet, you will have to buy 10-foot studs and cut off one foot from every single board, creating unnecessary scrap and wasting money on unusable off-cuts.
| Nominal Size | Actual Size | Common Stock Lengths | Primary Uses |
|---|---|---|---|
| 2×4 | 1.5″ x 3.5″ | 8 ft, 10 ft, 12 ft, 16 ft | Wall studs, plates, non-bearing partitions |
| 2×6 | 1.5″ x 5.5″ | 8 ft, 12 ft, 16 ft, 20 ft | Exterior walls, floor joists, deck framing |
| 2×8 | 1.5″ x 7.25″ | 10 ft, 12 ft, 16 ft, 20 ft | Floor joists, ceiling joists, long rafters |
| 2×10 | 1.5″ x 9.25″ | 12 ft, 16 ft, 20 ft | Heavy floor joists, stair stringers |
Familiarizing yourself with these standard dimensions allows you to optimize your cutting lists. By laying out your required piece lengths against available stock lengths, you can ensure high yield efficiency across every bundle of wood you purchase.
Common Mistakes in Lumber Estimation
Homeowners and DIY builders frequently make a few predictable mistakes when calculating their wood needs. Recognizing these pitfalls ahead of time prevents budget overruns, structural deficiencies, and material shortages.
- Forgetting double plates and headers: Calculating only the stud count without adding top plates and window headers leaves you short on framing stock.
- Ignoring actual dimensions: Using nominal sizes instead of actual finished dimensions can cause clearance errors in tight spaces or misalignments with sheet goods.
- Neglecting waste allowances: Buying the exact mathematical minimum guarantees you will run short due to saw cuts, splits, and warped boards.
- Ignoring local building codes: Failing to check IRC span tables can result in undersized joists or rafters that require complete re-framing.
- Failing to account for cripple studs: Omitting the short vertical support studs located above and below window and door openings leaves structural gaps in the wall assembly.
- Overlooking backing materials: Failing to order extra framing members for cabinet attachment points or drywall backing in interior corners.
How to Save Money on Lumber Purchases
Lumber represents one of the largest material expenses in any construction or remodeling project. Strategic purchasing, smart design choices, and careful material handling can significantly reduce your total wood expenditure.
- Keep your design standard: Design room dimensions around standard 8-foot and 12-foot lumber lengths to minimize off-cut waste and avoid custom cutting charges.
- Hand-select your boards: Inspect lumber stacks at the yard to reject warped, cupped, or heavily knotted boards that you cannot use structurally.
- Bulk order materials: Purchasing your entire framing package at once often qualifies you for contractor discounts or reduced delivery fees compared to making multiple small purchases.
- Properly store on-site: Keep lumber stacked flat, dry, and off the ground to prevent moisture warping, sun twisting, and mold growth before installation begins.
- Protect from weather: Cover stacked framing lumber with heavy tarps if stored outdoors, leaving enough ventilation underneath to prevent moisture entrapment.
How to Get an Accurate Lumber Estimate
Gathering precise numbers requires careful preparation before you start calculating or visiting your local building supplier. A methodical approach ensures your materials list is comprehensive and accurate.
Start by compiling complete architectural drawings, floor plans, and elevation details. Measure all wall lengths, ceiling heights, and opening dimensions twice to eliminate transcription errors. Consult local building department guidelines or the IRC to verify span requirements for joists, rafters, and headers before finalizing your quantities.
When requesting quotes from lumberyards, provide your exact cut lists and specify grade requirements, such as #2 and Better Douglas Fir or Southern Yellow Pine. Ask whether delivery fees are included, what their return policy is for unused and undamaged bundles of framing lumber, and whether they offer volume pricing tiers for complete project takeoffs.
Frequently Asked Questions
How do I calculate how much lumber I need for a wall?
To calculate wall framing lumber, divide the wall length in inches by your stud spacing (16 or 24 inches), add one end stud, and multiply by the number of plates. Add extra studs for corners, door openings, and window headers, then include a 10% to 15% waste factor.
What is the difference between nominal and actual lumber size?
Nominal size is the commercial name of the lumber before drying and planing (such as a 2×4). The actual finished dimension is smaller (1.5 inches by 3.5 inches). Always use actual dimensions for precise spatial planning.
What waste factor should I use when ordering lumber?
Use a 10% waste factor for straightforward rectangular rooms and simple wall framing. Increase your waste factor to 15% or 20% for complex roof rafters, angled cuts, or multi-level deck structures.
How many board feet are in a standard piece of lumber?
Board feet measure volume. Calculate board feet by multiplying nominal thickness in inches by nominal width in inches by length in feet, then dividing the total by 12. Standard dimensional framing lumber is usually sold by linear feet rather than board feet.
How are wall studs spaced according to building codes?
Standard residential building codes under the IRC typically permit wall stud spacing at 16 inches or 24 inches on center. 16-inch spacing provides higher load-bearing capacity and is standard for most load-bearing walls.
Can I use standard 2×4 boards for floor joists?
No. Floor joists carry heavy structural live and dead loads and require larger dimensional lumber such as 2×8, 2×10, or engineered I-joists based on span tables and local engineering requirements.
How do I estimate lumber for deck surface boards?
Find the total square footage of your deck surface, divide by the effective coverage width of your chosen board size including spacing gaps, and multiply by the board length. Always add a 10% waste factor for end trimming.
Final Takeaway
Accurately calculating how much lumber you need requires careful measurement, adherence to standard stud and joist spacing intervals, and realistic waste factor planning. By breaking your project down into individual framing components, you prevent expensive material shortages.
- Calculate studs and plates: Divide wall lengths by your spacing interval and add studs for corners and headers.
- Include waste allowances: Add 10% to 15% extra material to cover cuts, splits, and damaged boards.
- Design for standard lengths: Plan dimensions around 8-foot, 10-foot, and 12-foot stock lengths to minimize off-cuts.
Before purchasing your building materials, use BuildCost.online’s Lumber Calculator and Lumber Cost Calculator to generate reliable planning estimates and material budgets. Note: Framing estimates and material prices vary by region, supplier availability, and site conditions, and should always be verified against local building codes and supplier quotes.