Introduction to Board Feet and Lumber Volume
You are standing in the lumber aisle or staring at a rough-sawn stack of hardwood, trying to figure out how much material you actually need to buy. So, how do you calculate board feet accurately without overspending or falling short on your woodworking project? Determining lumber volume relies on a specific volumetric measurement rather than simple linear length, which trips up many DIY builders and contractors alike.
A board foot is a specialized unit of lumber volume in the United States and Canada that equals a piece of wood measuring 1 inch thick, 12 inches wide, and 12 inches long, totaling 144 cubic inches. To find this volume for any standard piece of lumber, you multiply the nominal or actual thickness in inches by the width in inches by the length in feet, then divide the entire product by 144. For instance, a single board measuring 2 inches thick, 6 inches wide, and 10 feet long equals (2 x 6 x 10) / 144, which gives you 0.83 board feet per linear foot equivalent.
Understanding this math saves you from common pricing confusion at the timber yard, where hardwoods are almost always sold by the board foot rather than by the individual piece. Whether you are building a custom dining table, framing a timber-framed pavilion, or estimating material budgets with our Material Calculator, mastering this calculation prevents wasted trips and unexpected budget overruns. This guide walks you through the exact formulas, real-world examples, nominal versus actual dimensions, and best practices for ordering lumber efficiently.
The Core Formula for Calculating Board Feet

Every woodworker and contractor needs a reliable method to determine lumber volume before heading to the supplier. The standard mathematical equation forms the backbone of all lumber purchasing decisions in North America. When you understand how thickness, width, and length interact, you can price out any species of wood—from red oak to construction-grade pine—with absolute confidence.
The universal formula for calculating board feet is:
Board Feet (bf) = [Thickness (inches) x Width (inches) x Length (feet)] / 144
Alternatively, if all three dimensions are measured in inches, the denominator changes to 1,728. However, because lumber lengths are universally sold and measured in feet, using the standard formula with length in feet is the fastest approach. Let us look at a practical worked example. Suppose you need to purchase a thick maple slab for a workbench top that measures 2 inches thick, 10 inches wide, and 8 feet long. Plugging those numbers into the formula yields:
2 inches x 10 inches = 20
20 x 8 feet = 160
160 / 144 = 1.11 board feet
Wait, that calculation represents just one piece. If you need five identical boards for your workbench top, you simply multiply that individual result by five. 1.11 board feet x 5 boards = 5.55 total board feet. Suppliers round up fractions to the nearest whole board foot or sell by established pricing tiers, so always check with your local timber yard regarding their specific retail policies.
Understanding Lumber Grading and Thickness Quarters
When you venture beyond standard home center softwoods into professional timber yards, you will quickly encounter fractional notation for thickness. Hardwoods are sold using quarter-inch increments, which dictates how the raw log was sawn at the sawmill. Understanding these designations is essential for using any board foot calculator accurately.
Try Our Free Calculators:
The standard quarter system breaks down as follows:
- 4/4 (Four-quarters): Represents 1-inch thick rough-sawn lumber. This is the most common thickness for cabinet panels, table skirts, and drawer components.
- 5/4 (Five-quarters): Represents 1-1/4 inch thick lumber. Frequently used for heavy table tops, stair treads, and robust door frames where extra structural integrity is required.
- 6/4 (Six-quarters): Represents 1-1/2 inch thick lumber, ideal for substantial furniture legs and structural accents.
- 8/4 (Eight-quarters): Represents 2-inch thick lumber, heavily utilized for workbench tops, thick bed posts, and exterior applications.
- 12/4 and 16/4: Represents 3-inch and 4-inch thick heavy timbers used for specialized heavy-duty architectural joinery and large workbench bases.
When calculating volume for these non-standard thicknesses, you simply substitute the nominal rough fraction into the thickness variable of your board foot calculator. For example, a 5/4 board is calculated using 1.25 inches as the thickness dimension.
Nominal vs. Actual Lumber Dimensions

One of the most frequent traps for beginners involves confusing nominal lumber dimensions with actual finished dimensions. When you buy dimensional lumber from a big-box home improvement center, a “two-by-four” is not actually 2 inches by 4 inches. It has been planed, dried, and surfaced, resulting in actual dimensions of 1.5 inches by 3.5 inches. Understanding this difference is critical when using any lumber calculator.
Hardwoods, which are commonly sold rough-sawn to true dimensions, follow different rules than softwoods meant for standard framing. Rough-sawn lumber is typically sold in full nominal thicknesses like 4/4 (four-quarters, or 1 inch), 5/4 (1.25 inches), or 8/4 (2 inches). When working with rough lumber, you measure the actual rough thickness and width to calculate board feet.
How Surfacing Affects Your Calculation
- Rough-sawn lumber: Measured at its true thickness and width before planing, meaning a 1-inch thick rough board yields a full 1 board foot per 12 square inches of surface area.
- Surfaced lumber (S2S or S4S): Surfaced on two or four sides, reducing the actual thickness. However, pricing is often still calculated based on the nominal rough thickness from which the board was milled.
- Standard dimensional softwoods: Typically sold by the linear foot or individual piece rather than board feet, though the board foot math still applies if you need to compare raw volume costs.
- Standard thicknesses: Measured in quarter-inches in the hardwood industry, designated as 4/4, 6/4, 8/4, and so on up to 16/4 for heavy timber projects.
Always verify whether your supplier prices lumber based on rough dimensions or finished dimensions. If you are buying rough lumber and planing it down yourself, you must buy thicker stock than your final project requires to account for the material lost during surfacing.
Board Foot Calculation Reference Table
To help you estimate material volumes quickly without running the math every time, the reference table below outlines board foot calculations for common lumber dimensions at an 8-foot standard length. These figures assume standard nominal or rough-sawn thicknesses commonly stocked in American timber yards.
| Board Dimensions (Thickness x Width) | Length | Board Feet per Piece | Weight Range (Average Hardwood) |
|---|---|---|---|
| 4/4 (1″) x 4″ | 8 feet | 2.67 bf | 8 to 12 lb |
| 4/4 (1″) x 6″ | 8 feet | 4.00 bf | 12 to 18 lb |
| 4/4 (1″) x 8″ | 8 feet | 5.33 bf | 16 to 24 lb |
| 4/4 (1″) x 10″ | 8 feet | 6.67 bf | 20 to 30 lb |
| 4/4 (1″) x 12″ | 8 feet | 8.00 bf | 24 to 36 lb |
| 8/4 (2″) x 6″ | 8 feet | 8.00 bf | 24 to 36 lb |
| 8/4 (2″) x 8″ | 8 feet | 10.67 bf | 32 to 48 lb |
| 8/4 (2″) x 12″ | 8 feet | 16.00 bf | 48 to 72 lb |
Estimated Board Feet per 8-Foot Board by Width
Chart note: Estimated board footage for standard 4/4 (1-inch thick) 8-foot boards across various nominal widths.
These figures represent planning estimates for standard domestic hardwoods like red oak, hard maple, or walnut. Actual weights vary significantly depending on moisture content and wood species density, ranging from lightweight conifers like white pine to heavy dense exotics. When planning large structural or furniture builds, you can easily verify material requirements using our Lumber Calculator to streamline your trip to the supplier.
Calculating Board Feet for Tapers, Circles, and Odd Shapes
Not every woodworking project consists of straight rectangular boards. When you build tapered table legs, curved chair components, or arched cabinet tops, calculating board footage requires a slight adjustment to your measuring technique. Failing to account for odd shapes leads to severe shortages in your lumber order.
For tapered boards, such as a table leg that is wider at the top than the bottom, you do not measure the narrowest or widest point. Instead, you measure the width at the exact midpoint of the board’s length. This average width gives you an accurate representation of the total volume contained within that tapered profile.
For irregularly shaped live-edge slabs or organic tree slices, measuring width requires taking multiple measurements across the length of the board, discarding extreme outlier widths, and using the average width calculation. Alternatively, standard industry practice for irregular slabs is to measure the narrowest part of the usable rectangular area within the slab, ensuring you do not pay for massive waste that will be cut away during processing.
Step-by-Step Guide to Estimating a Real Project
To put all these calculation principles into practice, let us walk through estimating the materials for a classic solid-wood coffee table. Breaking down a project into its individual sub-assemblies ensures you never miss a component when tallying your final board foot requirements.
Also Read:
- Lumber Cost Calculator Guide: 2026 Prices, Board Feet, and Material Estimates
- How Much Lumber Do I Need? Complete Materials Planning and Calculation Guide
- How to Calculate Gravel for a Driveway: A Step-by-Step Guide for 2026
- Flooring Cost Calculator Guide: 2026 Price Estimates per Square Foot
- House Construction Cost Per Square Foot: 2026 Guide
- Define the cut list: Create an itemized inventory of every part. For our coffee table, we need four table legs (2×2 inches by 16 inches long), four apron boards (3/4 inch thick by 4 inches wide by 36 inches long), two end aprons (3/4 inch thick by 4 inches wide by 20 inches long), and a top panel made from edge-glued boards totaling 3/4 inch thick by 24 inches wide by 42 inches long.
- Convert dimensions to standard calculation units: Ensure all lengths are expressed in feet and all widths and thicknesses are in inches. For instance, the 36-inch apron boards equal 3 feet in length.
- Calculate individual part volumes: Apply the formula to each group. The four legs require 8/4 stock. The aprons and top require 4/4 stock.
- Sum the totals and apply waste: Add all individual volumes together, then apply a 15% waste factor for complex joinery and face-jointing rough lumber.
Accounting for Waste and Defects

No matter how precise your board foot calculations are, you will never use 100 percent of the lumber you purchase. Knots, checks, splits, warping, and cutting waste will consume a portion of your raw material. Ignoring waste allowance is the single most common mistake DIY builders make when ordering timber.
Standard building practice dictates adding a specific waste percentage based on the complexity of your project and the grade of lumber you purchase. High-grade select lumber requires less padding, while rustic grades with knots and splits require significantly more buffer material to ensure you have enough clean stock to finish the job.
Recommended Waste Factors
- Simple rectangular projects: Add 10% for basic shelving, desktops, or straightforward panel glue-ups with minimal cross-cutting.
- Complex furniture builds: Add 15% to 20% for projects involving mortise-and-tenon joinery, curved cuts, or matching grain patterns across multiple doors and drawers.
- Rustic or lower-grade lumber: Add 25% to 30% when working with common-grade or wormy hardwoods that feature numerous natural defects you must cut around.
- Milling rough-sawn stock: Add 15% minimum to account for straight-line ripping and face-jointing rough edges square.
Always purchase your lumber from the same batch or supplier if possible to maintain consistent color and grain matching across your finished project. Running short halfway through a build and trying to match domestic cherry or walnut from a different tree can result in jarring color discrepancies.
Cost Estimation and Pricing Variations

Lumber pricing is rarely static. Hardwoods are sold by the board foot, with prices fluctuating wildly depending on the species, grade, width, and geographic region. Domestic species like red oak, poplar, and ash remain relatively affordable, while exotic hardwoods like teak, mahogany, and ebony command premium prices per board foot.
When budgeting for a project, remember that wider and longer boards cost more per board foot than narrow, short boards of the same species. This pricing structure exists because large, clear trees free of knots are increasingly rare and difficult to harvest. For rough budget planning, you can pair your board foot totals with our Material Cost Calculator to establish realistic financial expectations before visiting the timber yard.
Common Mistakes When Calculating Board Feet
Even experienced builders occasionally make calculation errors that result in costly lumber shortages or over-purchasing. Being aware of these pitfalls helps you double-check your figures before placing an order.
- Forgetting to convert inches to feet: Multiplying thickness, width, and length all in inches without dividing by 1,728—or failing to divide by 144 when length is in feet—results in numbers that make no sense.
- Using nominal dimensions for hardwoods: Calculating rough hardwood volume using final surfaced dimensions leaves you drastically short because rough lumber is thicker and wider when sold.
- Neglecting the waste factor: Forgetting to add 10 to 20 percent for cutting waste guarantees you will run out of wood before completing your project.
- Misunderstanding pricing tiers: Assuming all boards of the same species cost the same regardless of width or thickness grading leads to inaccurate budget forecasts.
- Failures in moisture checks: Buying green or un-kiln-dried lumber without accounting for shrinkage as the wood dries to indoor equilibrium moisture content.
Taking an extra two minutes to verify your measurements and calculations protects your budget and keeps your project moving forward without frustrating delays.
How to Measure and Sort Lumber at the Yard
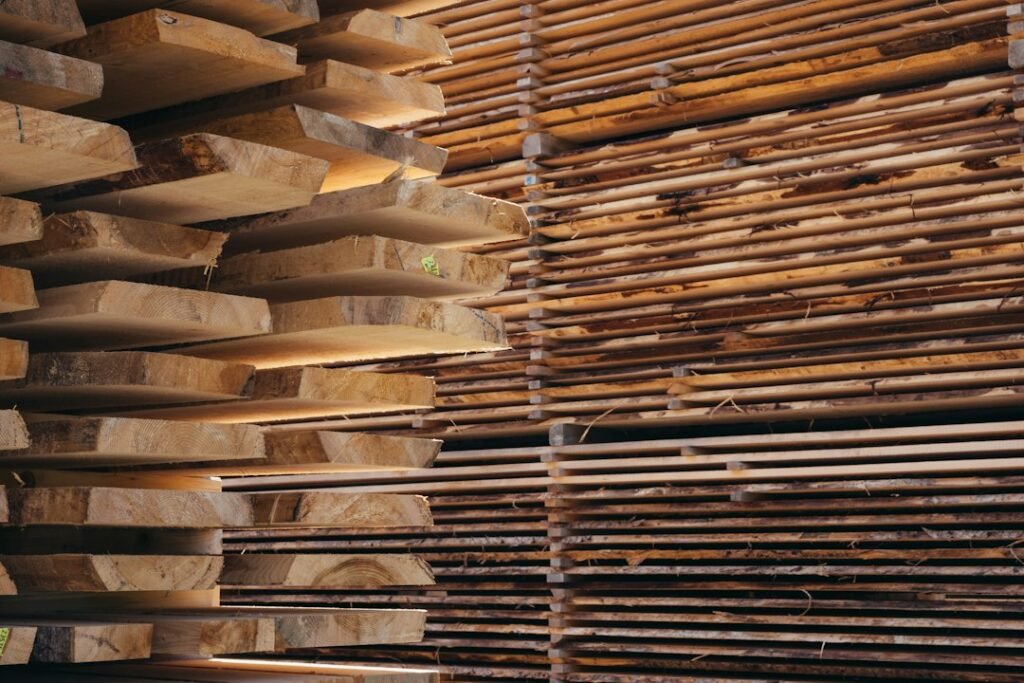
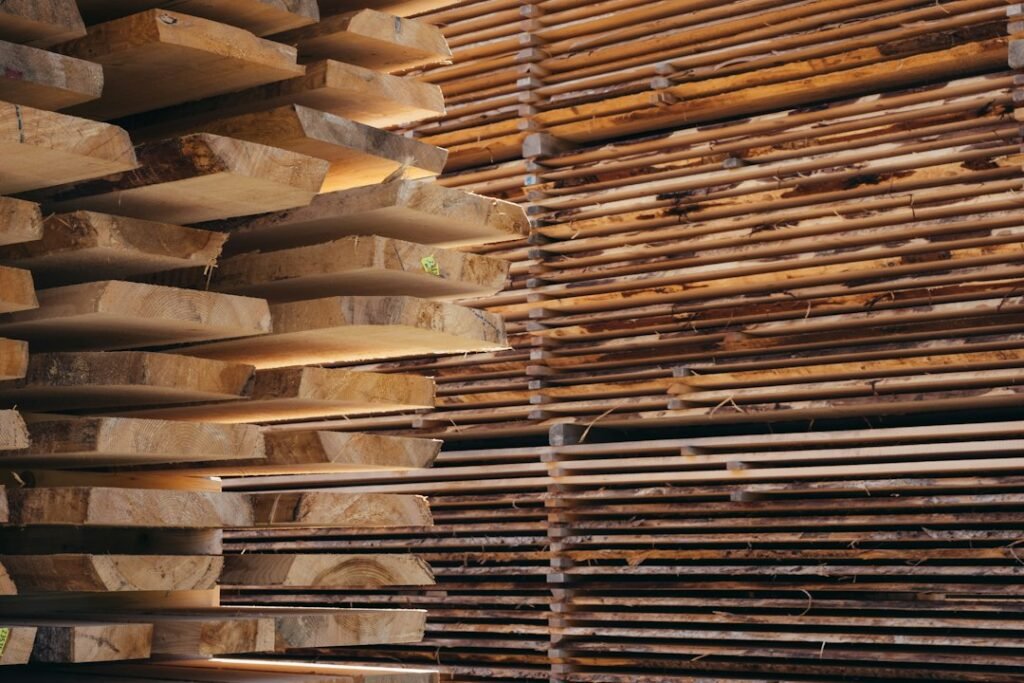
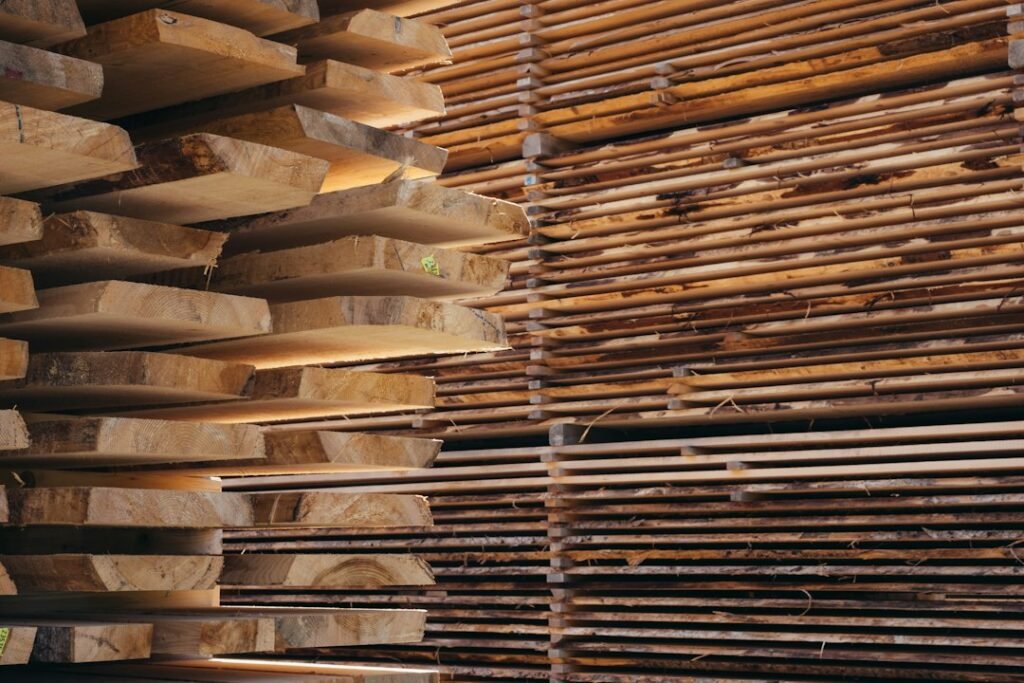
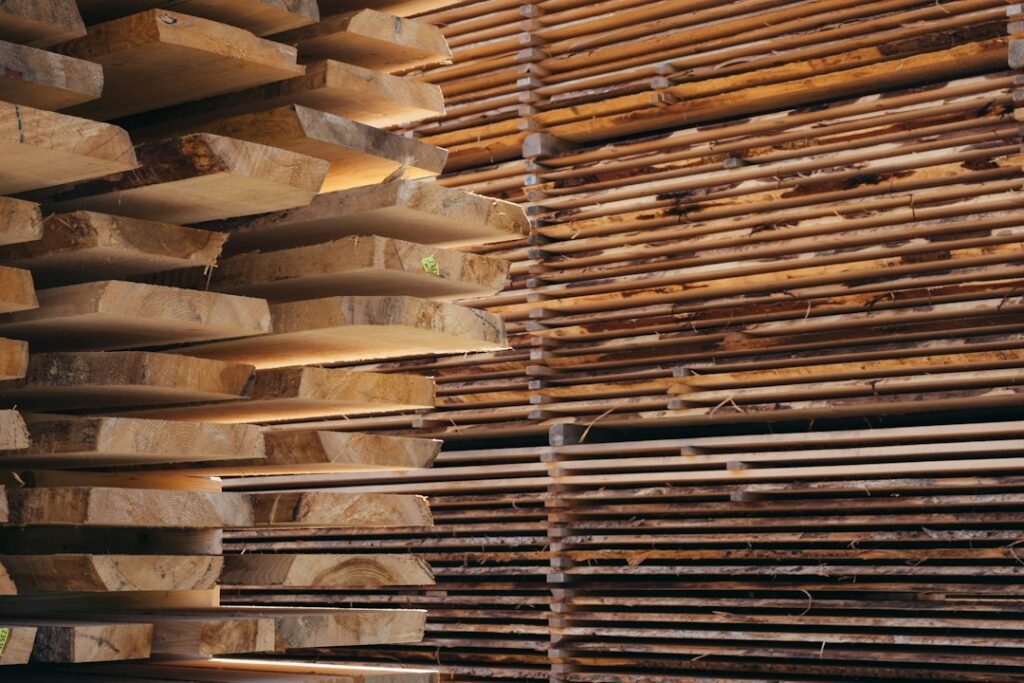
When you arrive at the lumber yard or hardwood distributor, you will often find stacks of boards pulled directly from the kiln or air-drying racks. Knowing how to evaluate and measure these boards yourself ensures you get the quality you pay for.
Always use a reliable tape measure to check the actual minimum width and thickness of the board, ignoring bark edges on live-edge slabs. Check for bow, crook, twist, and cup by sighting down the edge of the board. While minor warping can be milled out of thick stock, severe twist makes boards nearly impossible to flatten without sacrificing excessive thickness.
When purchasing FAS (Firsts and Seconds) grade lumber, inspect both faces of the board because grading rules require a high percentage of clear, defect-free cuttings on the poorer face. For Common grades, inspect the better face to ensure the designated yield meets your project’s cutting list requirements.
Tips for Buying and Storing Lumber Efficiently

Purchasing lumber effectively goes beyond simple arithmetic; it involves logistical planning for transport, acclimation, and storage. Wood is a hygroscopic material that continuously absorbs and releases moisture based on its surrounding environment.
Always transport lumber in a covered truck bed or enclosed trailer if rain is forecasted. Wet hardwood can develop surface mold or staining very quickly, particularly in humid weather. Once you bring the lumber home, sticker the stack immediately with narrow spacer sticks placed every 16 to 24 inches to allow proper airflow across all faces of every board.
Allow your lumber to acclimate to your workshop or home environment for at least one to two weeks before cutting and joining. This period allows the wood to adjust to local relative humidity, minimizing the risk of post-machining warping, cupping, or splitting after your project is assembled.
How to Get an Accurate Lumber Estimate
Gathering precise project requirements before ordering materials eliminates stress and prevents costly mistakes. Follow this straightforward checklist when preparing for your next woodworking or construction project:
- Create a detailed cut list: List every individual piece required for your project, including final dimensions and quantities.
- Add milling allowances: Add 1/16 to 1/8 inch to your cut list dimensions for rough-sawn stock that needs jointing and planing.
- Apply the board foot formula: Calculate the volume for each distinct board size using the standard formula.
- Add your waste factor: Include a 10% to 20% waste buffer depending on project complexity and lumber grade.
- Consult your supplier: Check with your lumberyard regarding available board lengths and widths to minimize excessive cut-off waste.
- Verify pricing tiers: Confirm whether prices are per board foot, per linear foot, or flat-rate per piece.
Advanced Considerations for Specialized Woodworking Projects
As you tackle more ambitious builds—such as custom cabinetry, architectural staircases, and heirloom furniture—understanding board footage calculations at a granular level becomes essential for controlling project expenses. Professional woodworkers rarely buy raw lumber blindly; instead, they optimize every board by mapping cut lists directly onto the physical grain patterns of individual hardwood slabs.
When calculating volume for book-matched panels or sequential flitches, your board foot calculator must account for matching pairs. A flitch is a collection of boards sliced consecutively from the same log, sharing identical color, grain structure, and density characteristics. If you require four book-matched panels for a large cabinet door or table top, you must purchase consecutive boards from the same flitch bundle, ensuring that your calculated volume covers both the primary usable panels and the necessary trimming margins required to align the grain seamlessly.
Calculating Volume for Laminated and Bent Wood Elements
Bent wood laminations and curved architectural elements present unique challenges when estimating material needs. Unlike straight boards, laminated structures are formed by gluing together multiple thin strips of wood over a bending form, where each strip is typically between 1/8 inch and 1/4 inch thick.
To calculate board feet for bent laminations, you must determine the total surface area of all the thin strips combined before they are bent. For instance, if you are bending six strips that are 1/8 inch thick, 3 inches wide, and 48 inches long, you calculate the board footage for the equivalent aggregate thickness. The math uses fractional thickness equivalents (such as 1/8 inch expressed as 0.125 inches), requiring careful attention to ensure you do not underestimate the total volume of raw material needed to mill those thin strips safely on a bandsaw or table saw.
Working with Metric Measurements and International Lumber Standards
While the board foot remains the dominant unit of measurement for hardwood lumber in the United States and Canada, global timber markets and imported exotic species often utilize metric units. Understanding how to convert metric dimensions into standard board feet ensures you can accurately price and purchase imported lumber from international distributors.
In metric systems, lumber thickness and width are typically measured in millimeters, while length is measured in meters. To convert metric dimensions for your board foot calculations, convert millimeters to inches by dividing by 25.4, and convert meters to feet by multiplying by 3.28084. Once converted into inches and feet, you can plug the resulting figures straight into the standard board foot formula without altering the denominator.
For example, if an imported African mahogany board measures 50 millimeters thick, 250 millimeters wide, and 2.5 meters long, the conversion yields:
- Thickness: 50 mm / 25.4 = 1.97 inches (approximately 8/4 stock)
- Width: 250 mm / 25.4 = 9.84 inches
- Length: 2.5 m x 3.28084 = 8.20 feet
Plugging those converted values into the core formula [(1.97 x 9.84 x 8.20) / 144] gives you approximately 1.10 board feet for that single board, allowing you to compare domestic and imported timber prices on an equal volumetric footing.
Optimizing Material Yield to Minimize Scrap Costs
Material optimization is the hallmark of an efficient woodworker. Beyond simply calculating how many board feet you need, you should actively plan how those board feet are distributed across your physical inventory. Utilizing cut-optimization techniques reduces total board foot consumption, saving money on expensive exotic and domestic hardwoods.
Before visiting the timber yard, sketch your cut list onto scaled representations of standard board sizes available from your supplier. By strategically nesting smaller components—such as drawer sides, feet, and rails—around knots, checks, and sapwood boundaries on a board’s surface, you can often reduce your required waste factor from 20 percent down to a lean 10 percent. This careful pre-planning ensures your board foot calculations translate into maximum practical yield on the workbench.
Frequently Asked Questions
What is a board foot?
A board foot is a unit of volume for lumber equal to a piece of wood measuring 1 inch thick, 12 inches wide, and 12 inches long (144 cubic inches).
How do you calculate board feet if thickness is less than one inch?
For lumber thinner than 1 inch (such as 1/2-inch stock), standard industry convention often prices and calculates the volume as if it were a full 1 inch thick, though some specialty suppliers calculate exact fractional thickness.
Why is rough-sawn lumber sold by the board foot?
Rough-sawn hardwoods vary widely in thickness and width because they are not planed to standard uniform dimensions, making volume measurement by board foot the fairest pricing standard.
How much extra lumber should I buy for waste?
You should typically add 10 percent for simple rectangular projects and 15 to 20 percent for complex furniture builds involving joinery and curved cuts.
Can I use nominal dimensions when calculating rough hardwood board feet?
No. Always measure the actual thickness and width of rough-sawn hardwood boards to get an accurate board foot calculation.
How many board feet are in a standard 2×4 that is 8 feet long?
A nominal 2×4 that is 8 feet long contains approximately 5.33 board feet using nominal dimensions, though dimensional framing softwoods are sold by the piece rather than board foot.
Final Takeaway
Mastering the board foot calculation formula ensures you purchase the exact amount of timber needed for your woodworking or construction project without overspending. By accounting for nominal versus actual dimensions and factoring in proper waste allowances, you protect your budget from costly shortages.
- Use the standard formula: Thickness in inches multiplied by width in inches multiplied by length in feet, divided by 144.
- Account for waste: Add 10% to 20% depending on project complexity and lumber grade.
- Understand lumber grading: Recognize the difference between rough-sawn hardwood pricing and dimensional softwood sales.
Always verify your measurements with our Lumber Calculator and check local supplier pricing before starting your build. Estimates vary by location, supplier inventory, and wood species and should be verified locally.